The Halloween season is upon us yet again! Each year I try one or two new props to add to The Ghoulie Graveyard, my home yard haunt. This year I had started considering building two tall columns that would serve as a way to hide my lightning effects and electrical boxes. I didn’t know exactly how I was going to do it, but found lots of great ideas and inspiration online. At first I thought there was no way this was going to look good and it was for sure one of the most difficult builds I’ve done, but now that it’s finished I’m pretty pleased with the outcome. It’s a great addition to my yard haunt! Read this article to see all the steps I took to create Halloween cemetery columns.
Creating The Frame
I started the build by creating a wooden frame for the columns made from vertical 1×2’s nailed to horizontal 1×3’s. I used wood screws to nail the wood together. The 1×3’s provided a flat surface for me to glue sheets of foam insulation. I used PL 300 foam adhesive for the glue and let it dry for at least 30 minutes. To be safe, you could just let it dry for a day. I also used clamps to hold the foam sheets in place to allow for a sturdier hold on the wood.
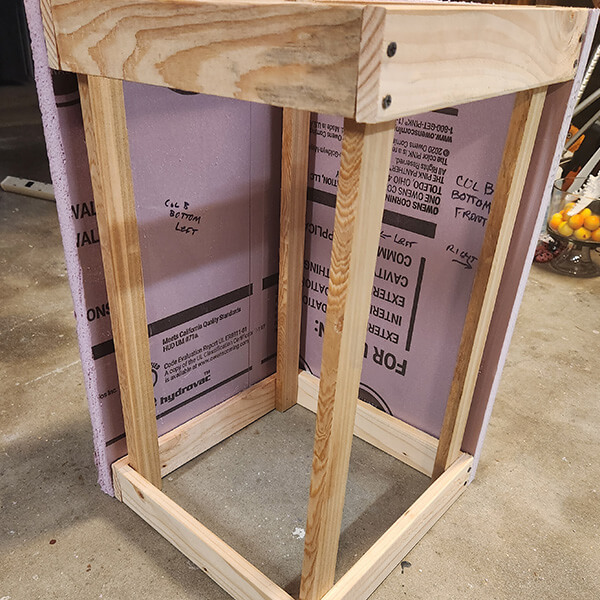
The foam sheets were just measured and cut from 1 inch thick Owens Corning foam from the hardware store. After the base column was created, I added vertical metal brackets to attach the next set of vertical 1×2’s. This is probably not the best way to build this since now I had to create a square at the top to enclose those 1×2’s which was pretty difficult.
When the mid section frame was completed, I glued the remaining three sides of the mid section of each column. At this point it doesn’t look like much and I didn’t worry too much about the uneven edges. Most of those I would sand down eventually using my circular sanding tool.
Adding Foam Trim To Columns
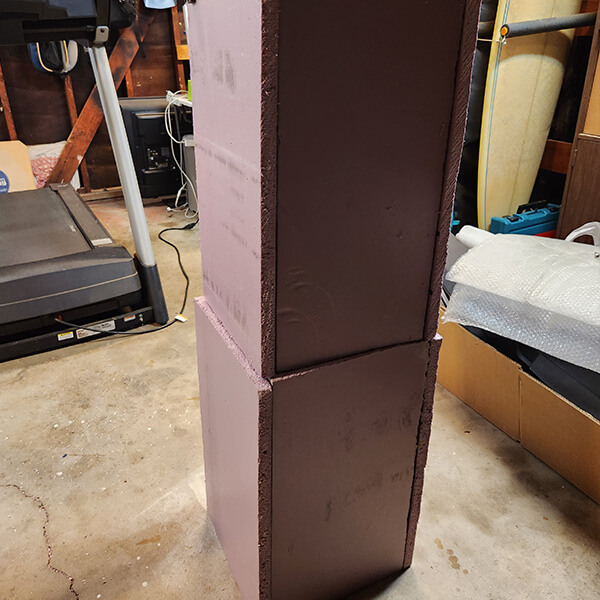
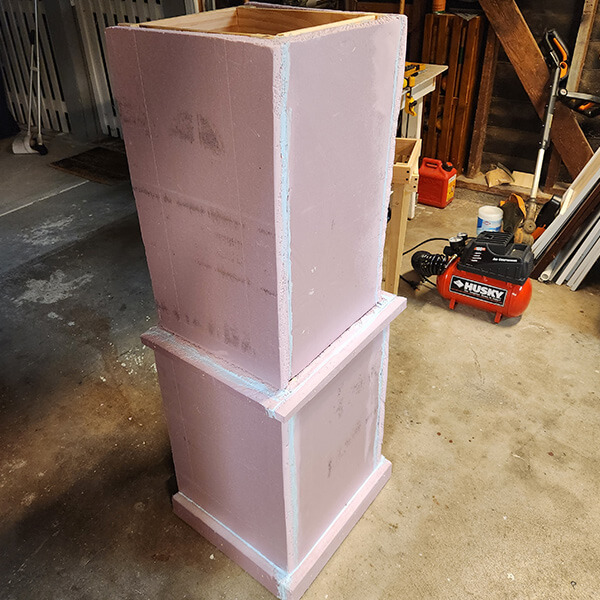
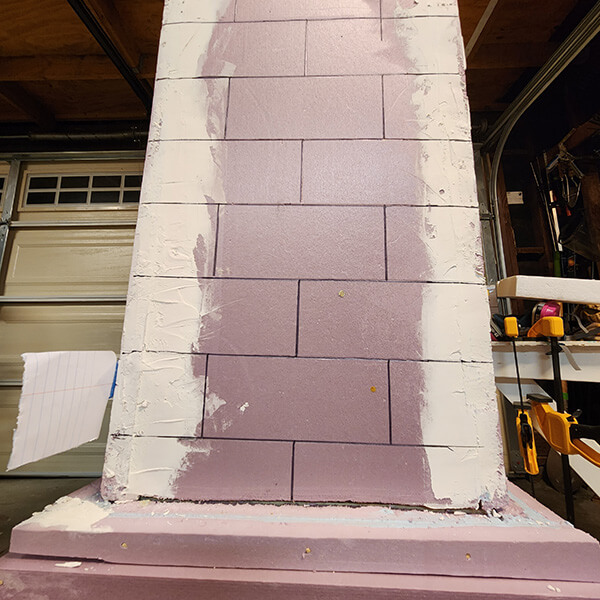
To make these columns have a little more character I decided to add 1 inch thick pieces of foam trim around the mid and bottom sections of the columns. I used wooden bbq skewers to hold the foam trim to the columns and more of the PL 300 to attach them together. Then I made sure all the seams were glued to ensure stability in the columns. Still looks pretty rough and hard to imagine what these might look like at the end. At this point I still had my doubts this would look good.
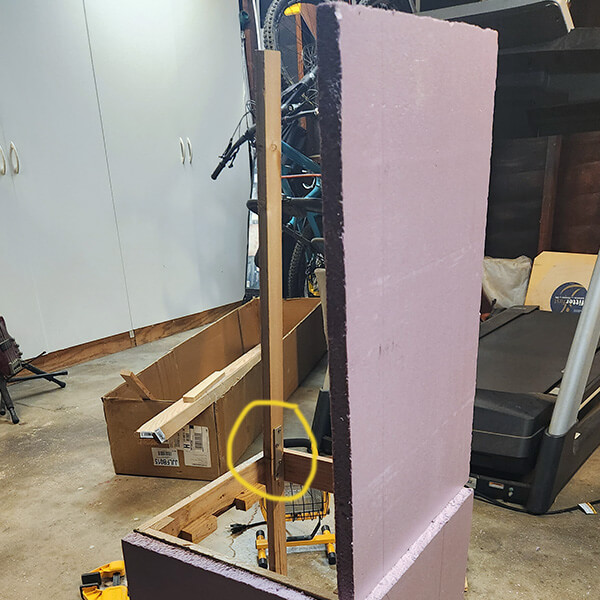
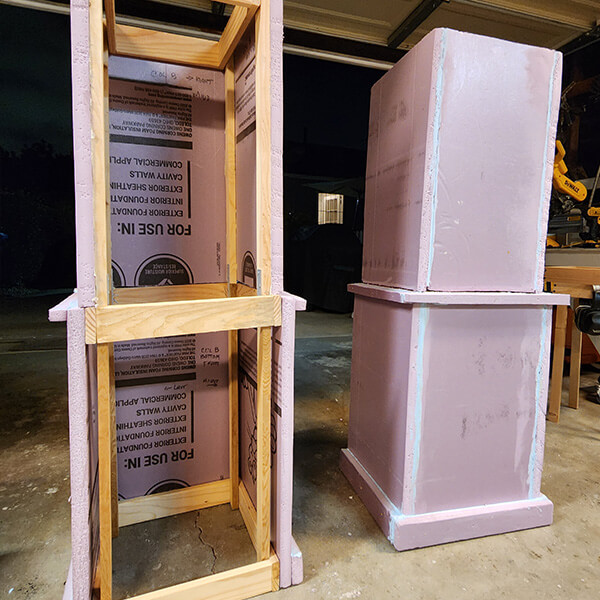
The main purpose for my columns was to create a way to hide my 500 watt flood light and electrical equipment. By having the back side of the columns open, I could add shelves where I needed so that everything could be hidden from the guests view of the graveyard. The opening would allow any hidden lights to shine out on the graveyard. This picture below is the back side before I added any shelves.
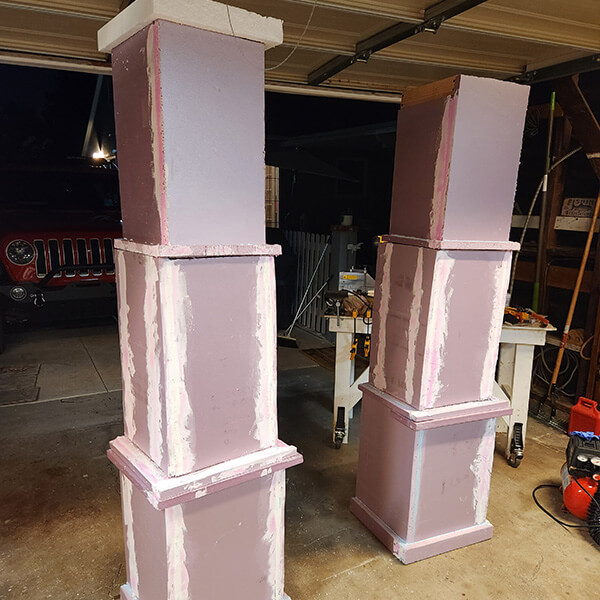
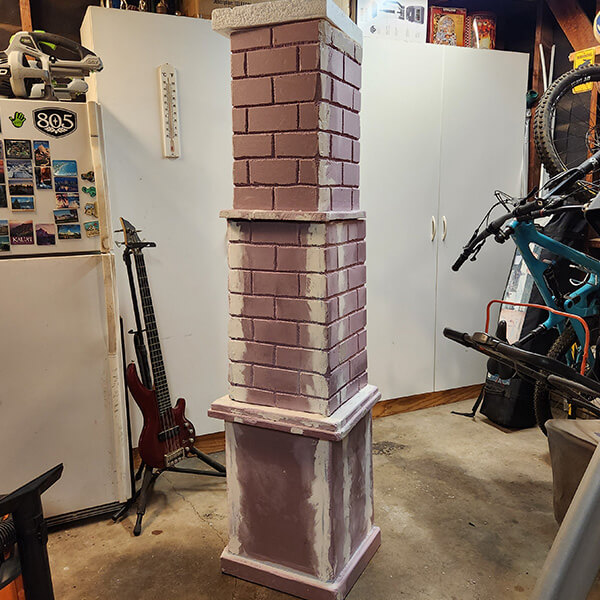
Finally I repeated the process of creating a third section for the top of each column. I made sure that the column would be able to be disassembled easily from the mid and bottom section to allow for easier storage. I then added a 2 inch thick piece of foam for the top of each column. That’s where I planned to add an effect, possibly a store bought pumpkin. Although I had previously added foam adhesive to the columns, I wanted to hide the noticeable seam lines on each section. I bought joint compound from the hardware store and used a putty knife to smooth out those lines.
Carving The Bricks And Cracks
The shape started looking better but now it was time to add more realism to the foam. The next step was to draw out a pattern of bricks onto each side of the columns. I used a pattern of 3 bricks in one row and two in the row below, then just repeated that pattern. I used a pencil then a black pen so I could see the bricks more easily. From this picture you can see how the joint compound hides the seams of the adjoining pieces of foam.
Using a drywall carving tool, I etched the lines out so that they resembled grout lines in a brick wall. I tried to only go to a specific depth so that they looked as even as possible. Don’t worry too much about being too perfect. Just use some sand paper to remove excess foam and smooth out the grout lines a bit.

Now that the bricks looked better, I decided to rough up the edges of the columns and carve out some chunks to make it look like the columns are old and falling apart. I also carved some cracks in the bricks randomly to add more aging effects to the columns. For my columns I decided to only carve bricks in the mid and top sections and leave the bottom flat.
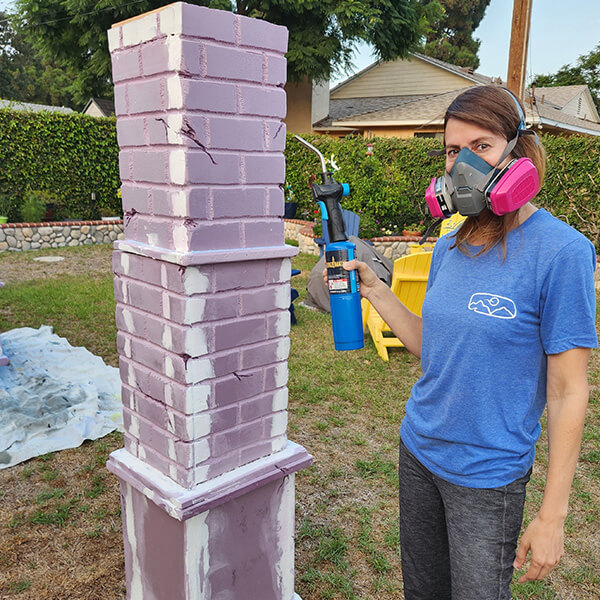
The final step in the carving process was to take a water bottle and spray it on the panels of foam then use a propane blow torch to heat up the surface of the foam in random spots. This is a technique that will melt the foam slowly so it looks like the brick has been aging and has eroded away. It looks pretty dangerous but if you follow the safety instructions and use a proper ventilation mask, it’s actually quite easy.
Painting The Columns
I love the cracks and the bricks but to get these columns to start really looking like columns its time to give them a good paint job. I start by adding a layer of Dry Lock grey paint to the surface of the columns. The Dry Lock is thick and has a grainy texture to it almost like sand. This adds even more realism to the surface of the columns. This also gives a nice even base color of grey to the whole column.

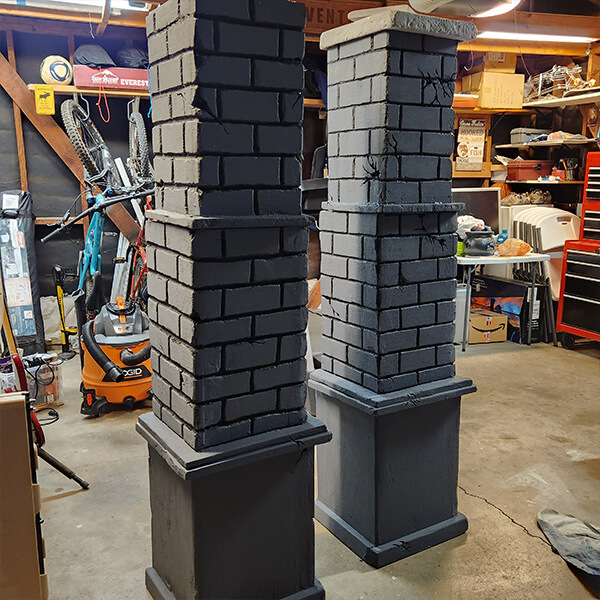
My next step was to add black paint inside all the cracks and grout lines. Make sure to hide any of the pink foam that might still be showing. I picked up a couple of battery operated flicker pumpkins at Home Depot which really looked good on top of each column. I’d just have to figure out how to attach them so they wouldn’t fall off if there was any wind.
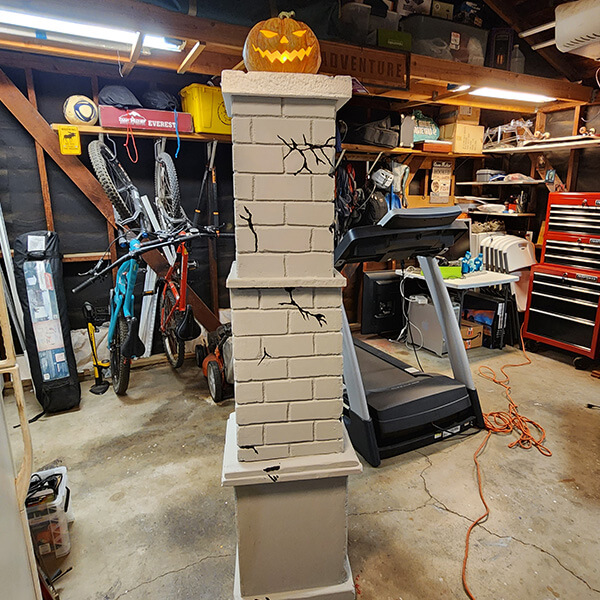
The Dry Lock was a bit too light for my liking so I mixed some white and black acrylic paint till I got a shade of grey that looked more like the color I imagined for the columns. The black in the grout really made the grey columns stand out.
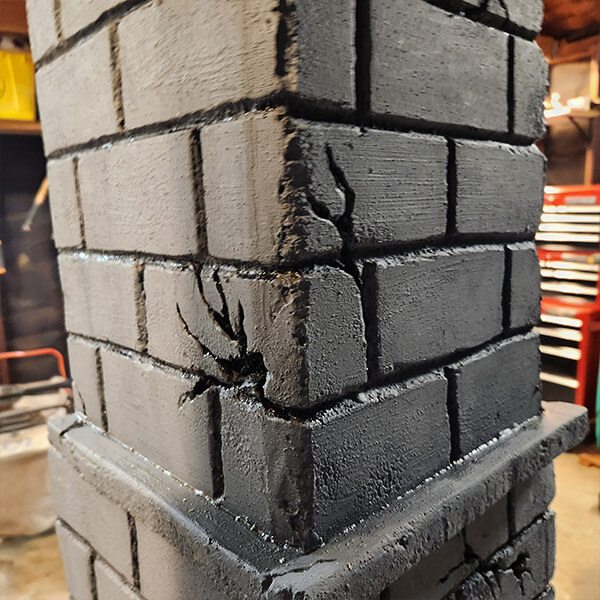
Here is a close up of the cracks and the edges of the brick columns.
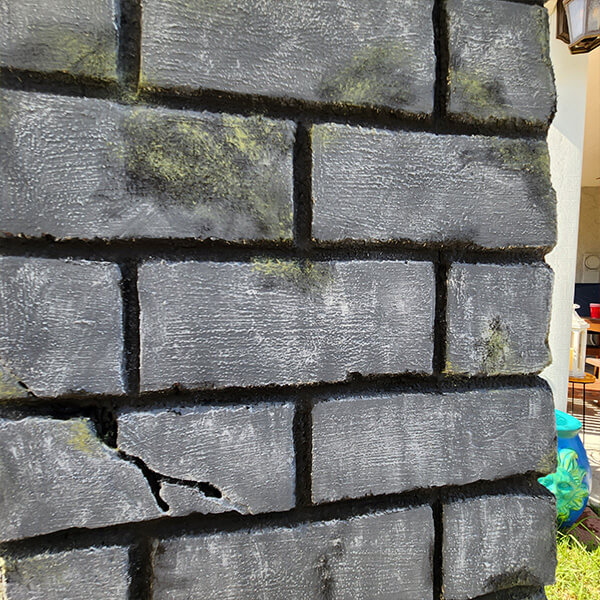
Once the columns were painted grey, I added a bit of black to any imperfections in the brick. Then i mixed some green moss and raw sienna (brown) acrylic with a dab of black so that I could create a mossy color. I dabbed only a little bit with the tips of a paintbrush to look like the green moss was growing inside the deeper crevices of the brick. Finally I dipped the end of a paintbrush into white acrylic paint. Then I removed almost all of the paint and very lightly started to brush the bricks. This added a very small bit of white that highlighted the very top surface of the grainy texture of the brick. This technique is called dry brushing. I love it since it really added that final bit of realism to the columns. I made sure to dry brush over all the black cracks to add highlights to them and make them really pop.
Adding The Columns To The Yard Haunt
The tops of the columns were also painted and I even added a 1 inch piece of foam on top to help elevate the pumpkins a bit higher making them easier to see. I removed the batteries and ordered an AC power adapter replacement for the batteries. That way the pumpkins could be plugged into the same power setup for my entire haunt. That would also ensure they are on the same timer that turns on and off each night. I cut a hole through the top of the columns to feed the adapter cable through the middle of the columns.
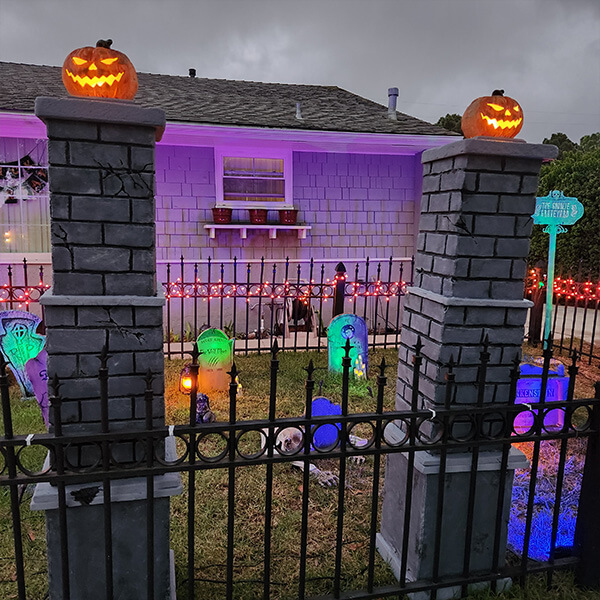
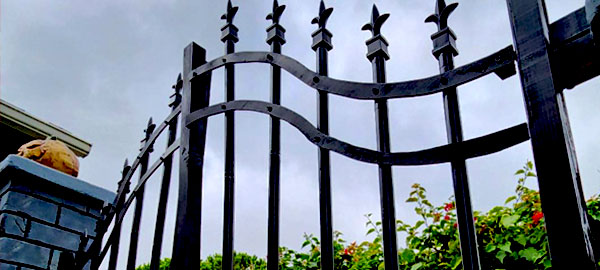
This is the final view of the columns after I added them to my yard. They really look cool especially when the pumpkins are lit at night. This project is complete but far from over. Next I’d like to add a realistic black gate that connects each column together. Not sure if I’ll have time this year but if not there is always next year! Hmmm… I wonder what time Home Depot is open till tonight?