So I’ve made LED flickering candles and LED spotlights for my graveyard. Now what? At this point I’m scratching my head trying to figure out how to deliver electrical power to my new creations. To the internet I go! This time I found a great idea on how to make a 12 volt power supply from a member of the SoCal Valley Haunters Facebook group. It’s really pretty clever and helped me power up my entire graveyard scene. Keep reading to see how I did it.
Buy All Your Electrical Supplies
Let me start off by admitting to you that I’m a complete noob when it comes to electrical work. I’ve always been afraid of getting electrocuted. I don’t know why. I even wince when I plug anything into the wall. Like always. I know it’s weird. So I was totally afraid of doing this build. But I really needed it to take my yard haunt to the next level.
After seeing how a fellow haunter did it, I was convinced I could do it too. So I started by collecting the parts I would need to assemble this electrical beast. First I bought an outdoor electrical non-metal box and cover from Home Depot. Then I bought two 1/2″ strain relief connectors that would screw on each end of the box. I ordered waterproof male/female pin connectors and a 12v DC 2amp power supply. Finally I picked up a few boxes of those blue landscape lighting cable connectors.
Wire Up Your Power Supply Box
Let me preface this by warning you again. I don’t know squat about electrical stuff. In fact I’m amazed that I didn’t electrocute myself during this entire build. That being said, if you disagree with anything I’ve done here, save your breath. I’m sure I didn’t do it perfectly. But I’m learning so cut me some slack. Or send me a comment to tell me how to improve this Frankenstein of a build.
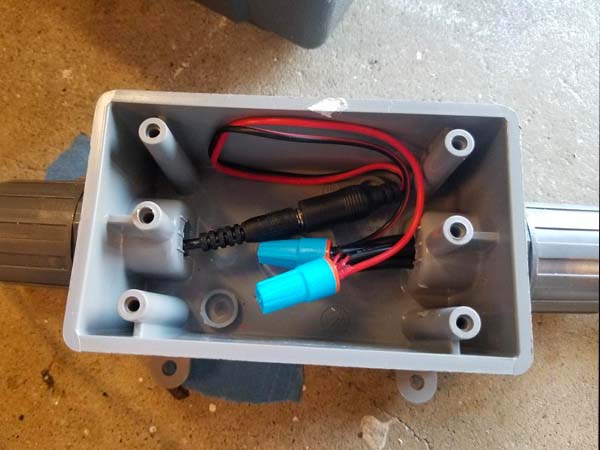
So first I attached the two strain relief connectors to each end of the box. I took the 12 volt power supply and fed the DC jack end of it through one end. I connected a female pigtail connector to male DC jack. Through the other end I stuffed four female waterproof pin connectors. I then spliced and twisted all red cables to the red pigtail connector wire and all black cables to the black pigtail connector wire. I used a waterproof wire cap to hold those connections in place. Then I simply tucked them into the box and screwed the cover on.
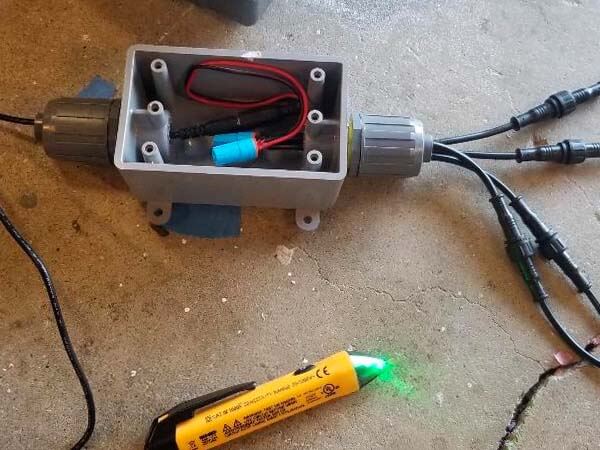
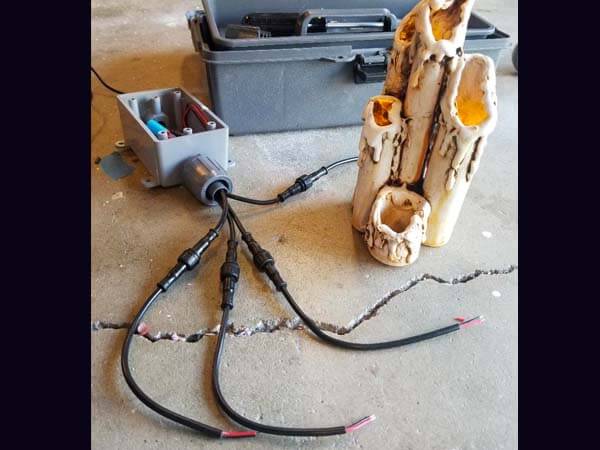
In the image above you can see the waterproof pigtail connectors attached. I will be attaching the male ends to the 18/2 gauge low voltage outdoor landscaping wires that run through my graveyard. So for example I run a wire in the front row of the tombstones for all the spotlights, then a second line behind the first row of tombstones. These allow more spotlights to point to the second row of tombstones. Finally I add a wire for all my LED candles next to the tombstones. So already I have 3 wires that can come to the power supply. I just add the male end to each wire and they can be connected to my box and disconnected easily for storage.
Test Your Power Supply Connections
So this was the scary part for me. Once assembled I plugged in the power supply to the really scary wall outlet. Take that back. I think I plugged it into a surge protector so that I could flip the switch and wince. Nothing exploded and nothing caught on fire. I used a voltage tester to make sure I was getting the low voltage out of each end of the male pin connectors. Beep beep…yes! Finally I attached a test led to each end (black to black and red to red) just to make sure the connections were good. YES!!!! I was so incredibly happy that it worked. Only thing left was to put in in the graveyard.
It’s Alive…ALIVE!
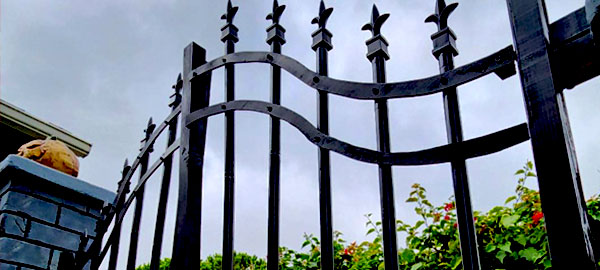
So I plugged my power supply box into a timer outlet set up in my graveyard. The other ends of the connectors were attached to each of the lines I described above. Then all I had to do was wait each night for the timer to go on at 6pm. Like magic everything lit up! I won’t lie to you. I didn’t sleep well the first few nights thinking that I’d probably burn my house down. But it’s been an entire month now and I can tell you nothing bad happened! Maybe I was just lucky, or maybe…just maybe I finally got over my fear of all things electrical and learned how to do this right.
If you want to see the DIY LED spotlights and my DIY Halloween flickering candles in action, just read my other how to posts.